The most common mistakes when laser cutting wood – and how to avoid them
The most common mistakes when laser cutting wood
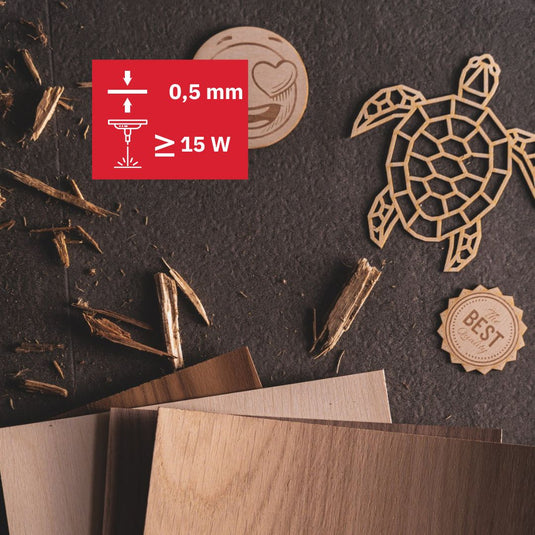
Laser cutting wood is a fascinating way to create creative and precise projects – from personalized gifts to high-quality products. But like any technique, there are typical mistakes that beginners (and even advanced users!) often make.
1. Soot formation & burnt edges
The problem:
Dark, sooty, or even charred cut edges are a common annoyance. They look messy and can greatly affect the finish of your work.
The solution:
-
Adjust parameters: Often the laser power is too high or the cutting speed too low. Reduce power or increase speed gradually.
-
Multiple passes: Instead of cutting at full power in one pass, work with several weaker passes.
-
Use air assist: A strong airflow minimizes soot formation, cools the wood during cutting, and blows particles away immediately.

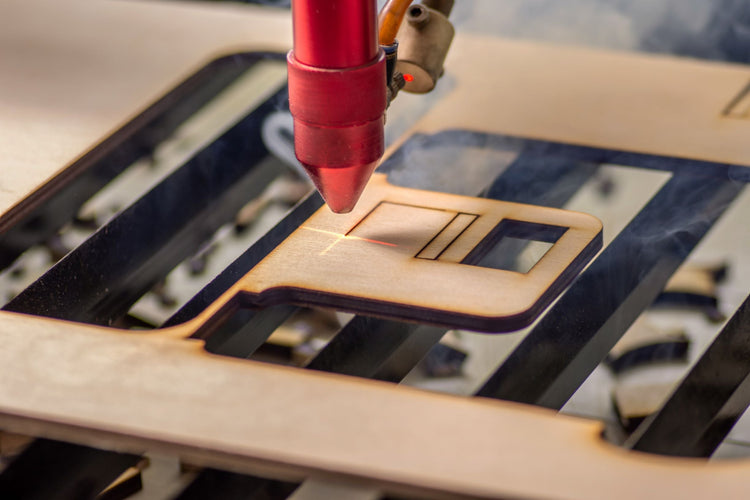
2. Incorrect focus
The problem:
A blurry or inaccurate focus leads to messy cuts and poor engraving results. It can also cause engraving that is too strong or too weak.
The solution:
-
Check focus regularly: Use the focus tool supplied with your laser device or calibrate manually.
-
Set Z-height correctly: Make sure the distance between the laser head and the surface exactly matches the recommended focus distance – this is crucial for precision.
-
Focus differently for engraving & cutting: For engraving, a slightly raised focus area can even be helpful, while absolute precision is required for cutting.
3. Improperly stored or damp wood
The problem:
Moisture in the wood can cause uneven cuts, warping, and even smoke formation. Additionally, engraving results can vary greatly.
The solution:
-
Store wood dry: Store your wood in a dry, well-ventilated room with as constant a temperature as possible.
-
Measure moisture: A simple wood moisture meter helps you control the ideal moisture content (below 10%).
-
Let acclimate: Let newly purchased wood rest in the room climate of your workshop for at least 24–48 hours before working on it.
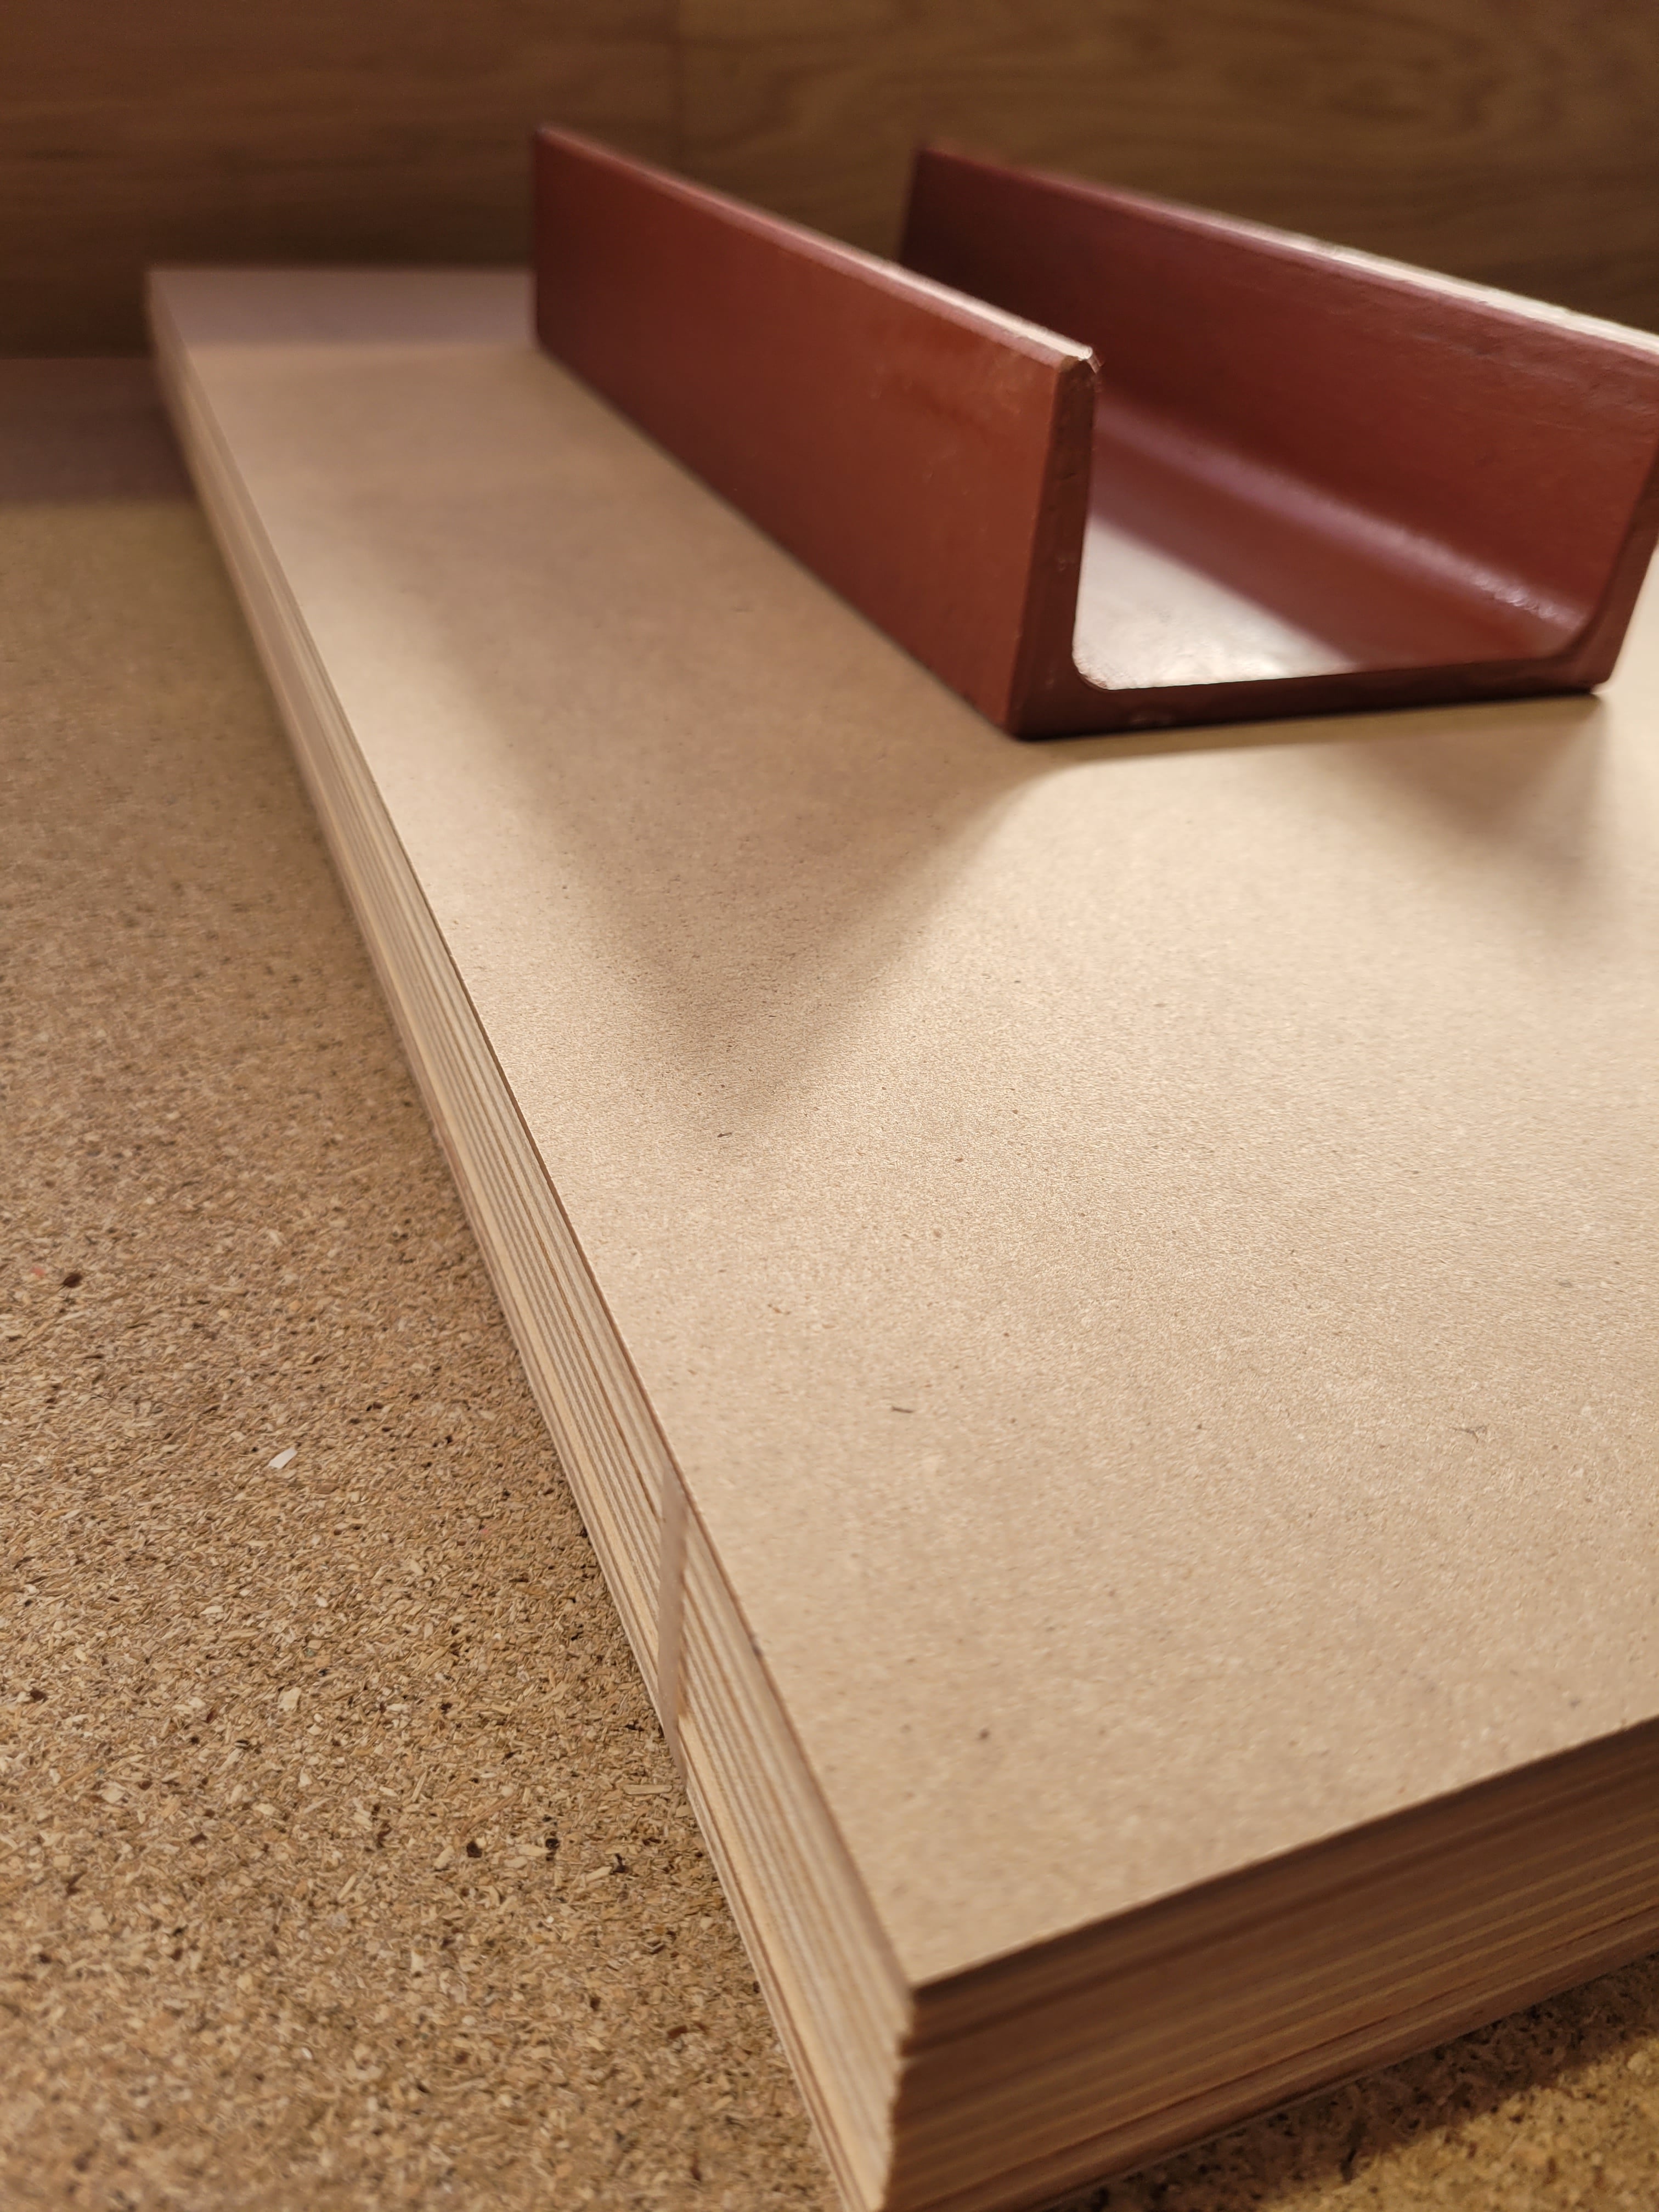
4. Wrong wood type for fine engravings
The problem:
Not every wood is suitable for detailed engravings. Some wood types have coarse fibers or resins that make the result uneven.
The solution:
-
Choose fine, homogeneous woods: Birch, Sycamore, or Beech plywood provide especially clean engravings.
-
Test beforehand: Try your design first on a scrap piece—this way you get a feel for the result.
5. Insufficient ventilation
The problem:
Smoke, odor, and fine particles can not only affect the result but are also harmful to health. Without good extraction, the lens also gets dirty faster, which in turn reduces quality.
The solution:
-
Install a good extraction system: Invest in a suitable extraction system with an activated carbon filter, especially if you work indoors.
-
Window ventilation is not a solution: Simply opening the window is not enough—the smoke must be extracted directly at the source.
-
Clean regularly: Regularly check filters, exhaust hoses, and the work area to remove residues.
Conclusion
Laser engraving wood is a combination of technology, material knowledge, and experience. Many of the most common mistakes can be easily avoided if you check your settings, carefully select your material, and maintain a clean workspace. With some practice, you will quickly achieve better, cleaner, and more professional results—whether you are a beginner or advanced user.
Good luck and have fun with laser engraving!